 : Backup & Restore
Once your Anti-Cloud Service has been activated and you have received your welcome email, you are ready to install and configure the Anti-Cloud: Backup & Restore software on each computer you will be backing up.
Contents
Anti-Cloud Installation
-
Download the software
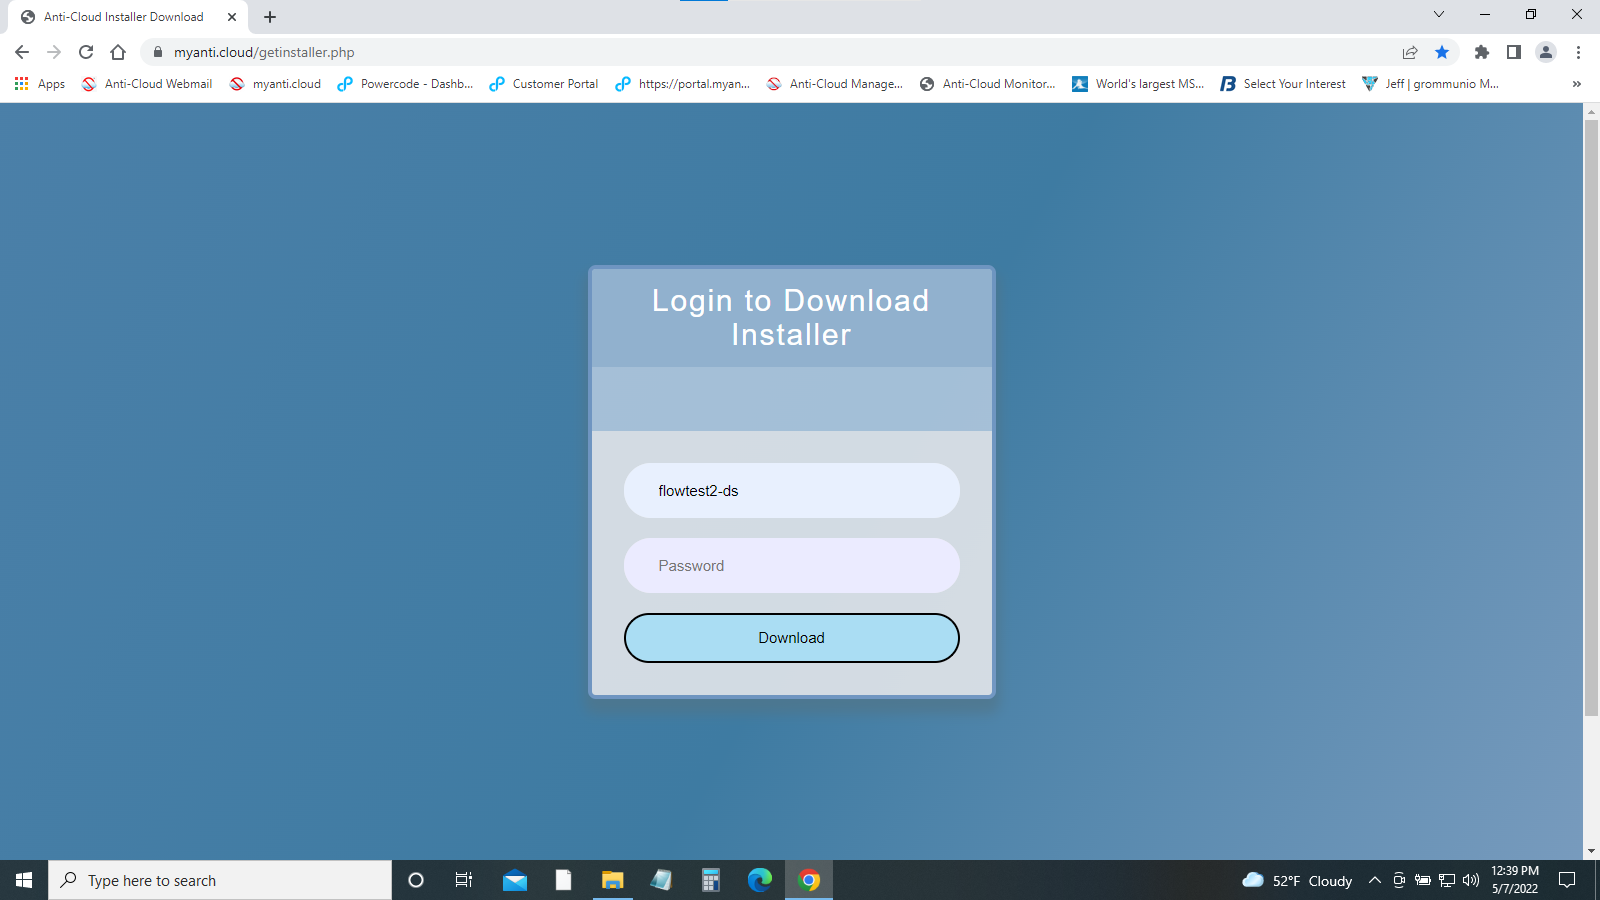
- Click on the link in the email you received to load the Installer page
- NOTE: You MUST login with the ‘username’ specified in that same email and the password you entered at the account creation step of the ordering process
- The download begins automatically
- Run the .exe file that was downloaded (anticloud-installer.exe or anticloud-installer-subuser.exe)
-
Prompt: Do you want to allow this app to make changes to your device?
- Click “Yes”
-
Run the installer
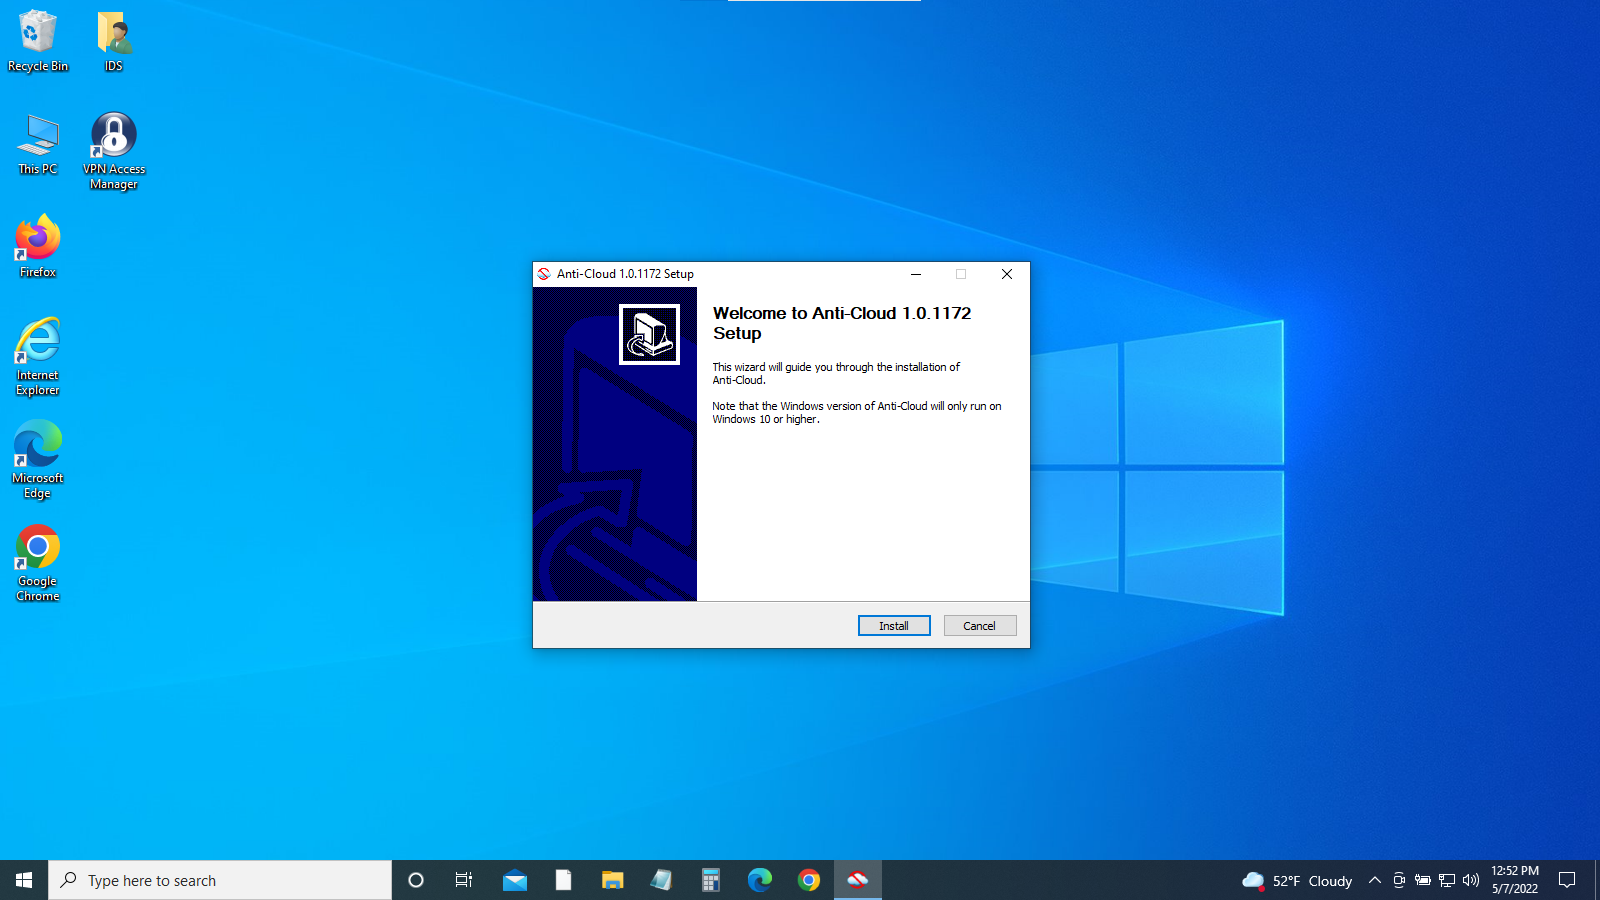
- Window: Anti-Cloud 1.0.1172 Setup
- Click “Install”
-
Confirm installation complete
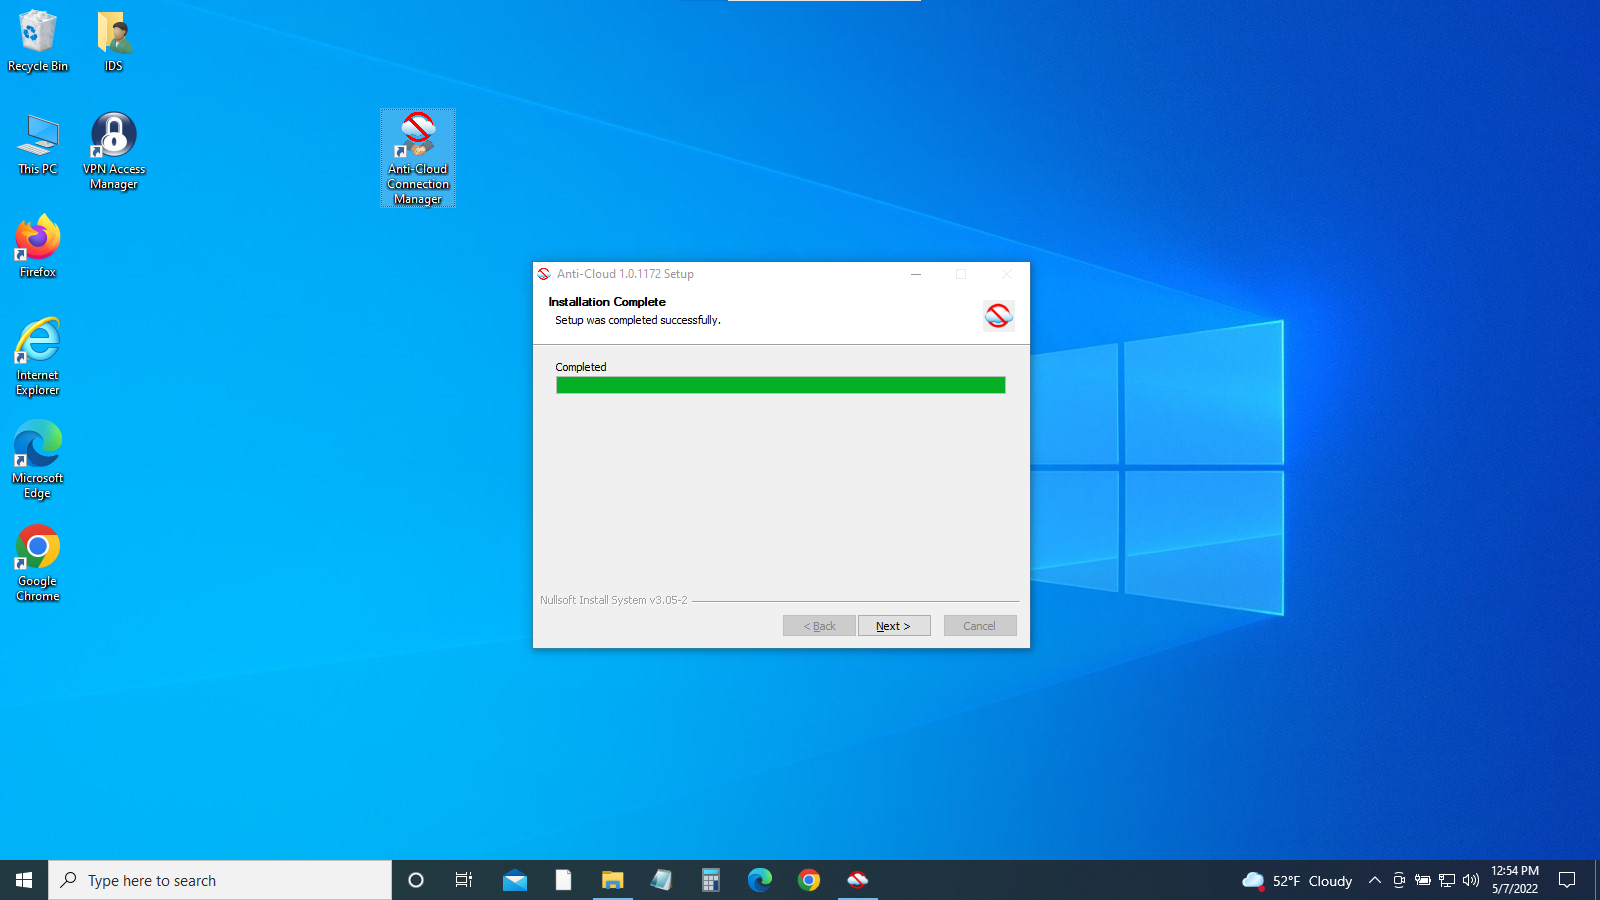
- Window: Installation Complete
- Click “Next”
- Note: The “Anti-Cloud Connection Manager” icon is created
-
Close the installer

- Window: Anti-Cloud 1.0.1172 Setup
- Click “Finish”
-
Authenticate your account to start the Anti-Cloud Connection Manager
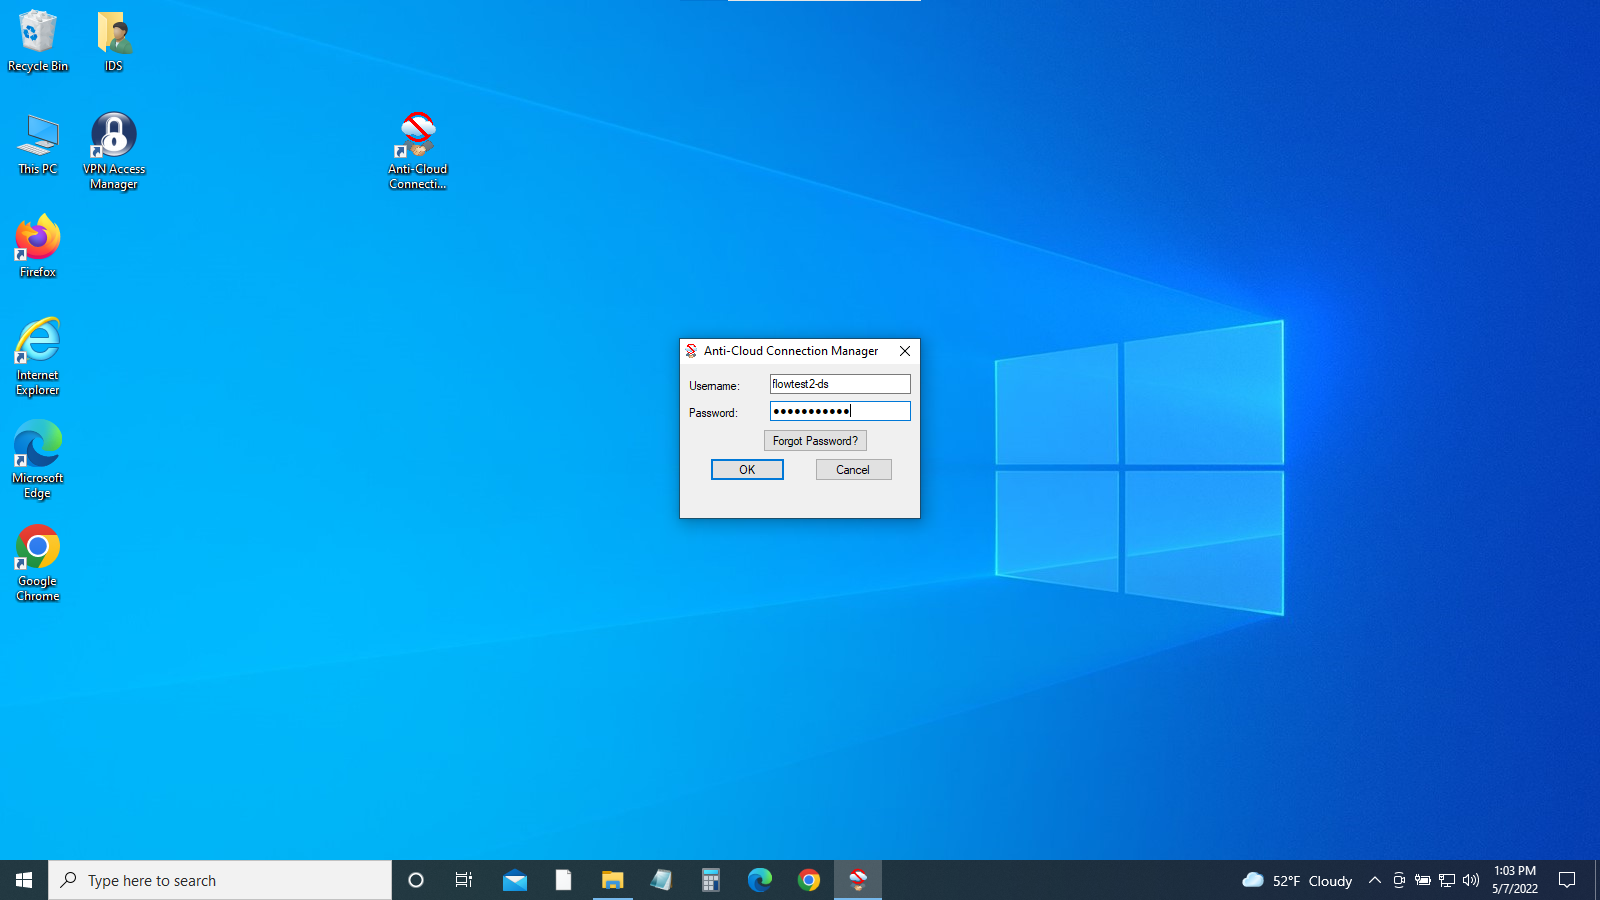
- Window: Anti-Cloud Connection Manager
- Type ‘Username’ and ‘Password’ (both - same as before)
- Click “Ok”
-
To establish your personalized secure connection, the Anti-Cloud Connection Manager will require your password again to unlock and enable your private encryption key.
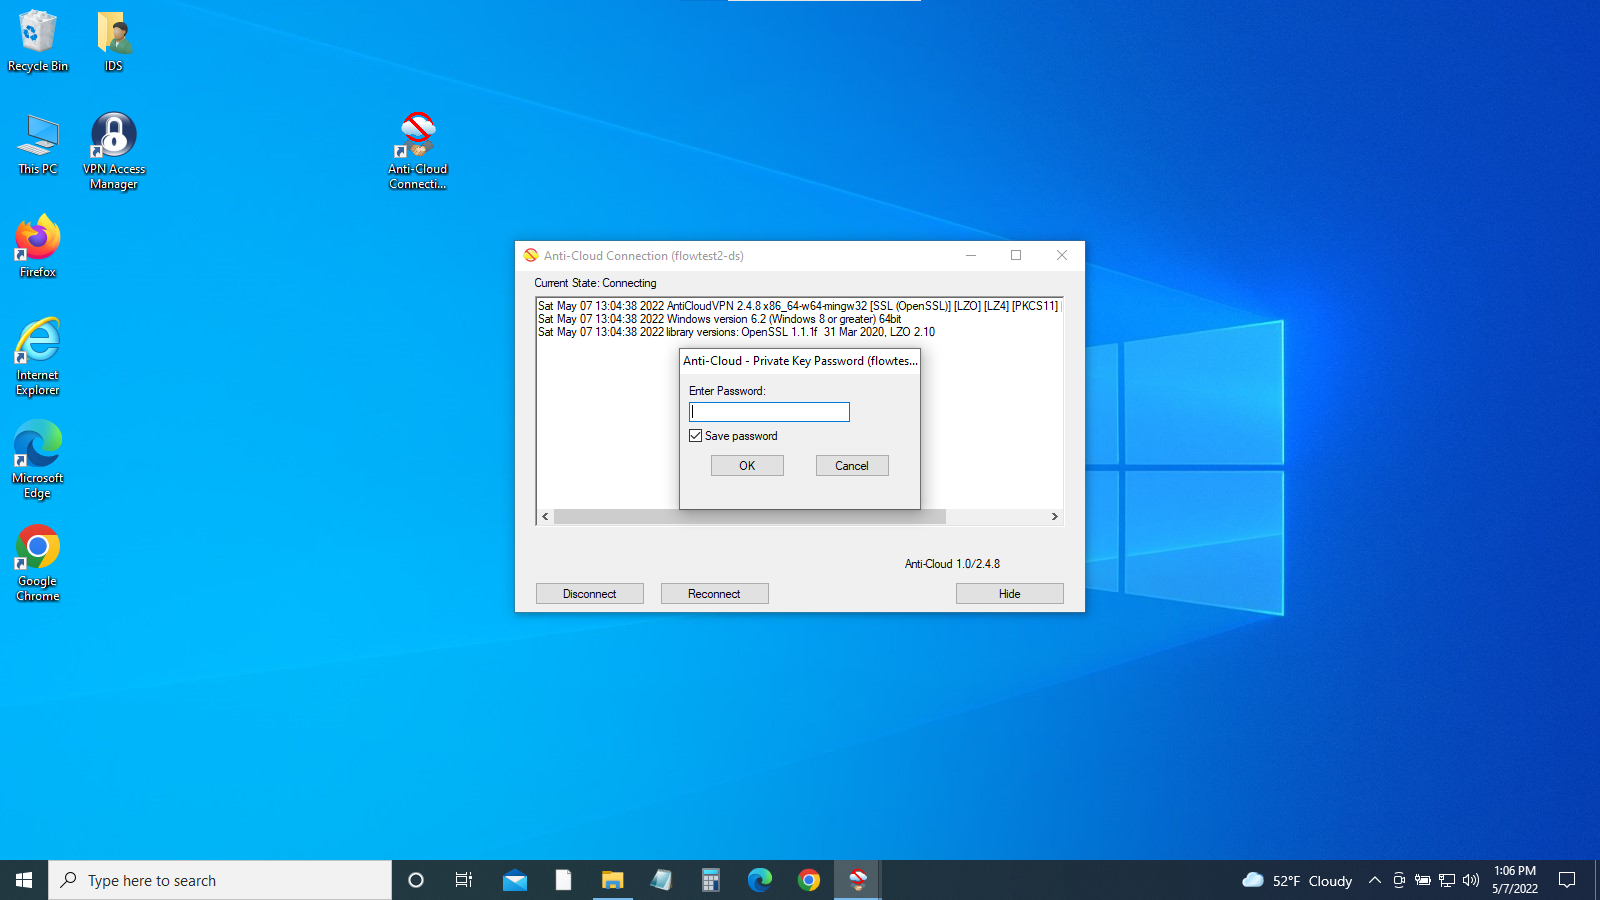
- Window: Anti-Cloud Connection Manager (username)
Current State: Connecting
- Window: Anti-Cloud - Private Key Password (username)
- Type ‘Password’ (same as before)
- Window: Anti-Cloud Connection Manager (username)
Current State: Connecting
-
The installer will now download the remaining components of the Anti-Cloud: Backup & Restore software
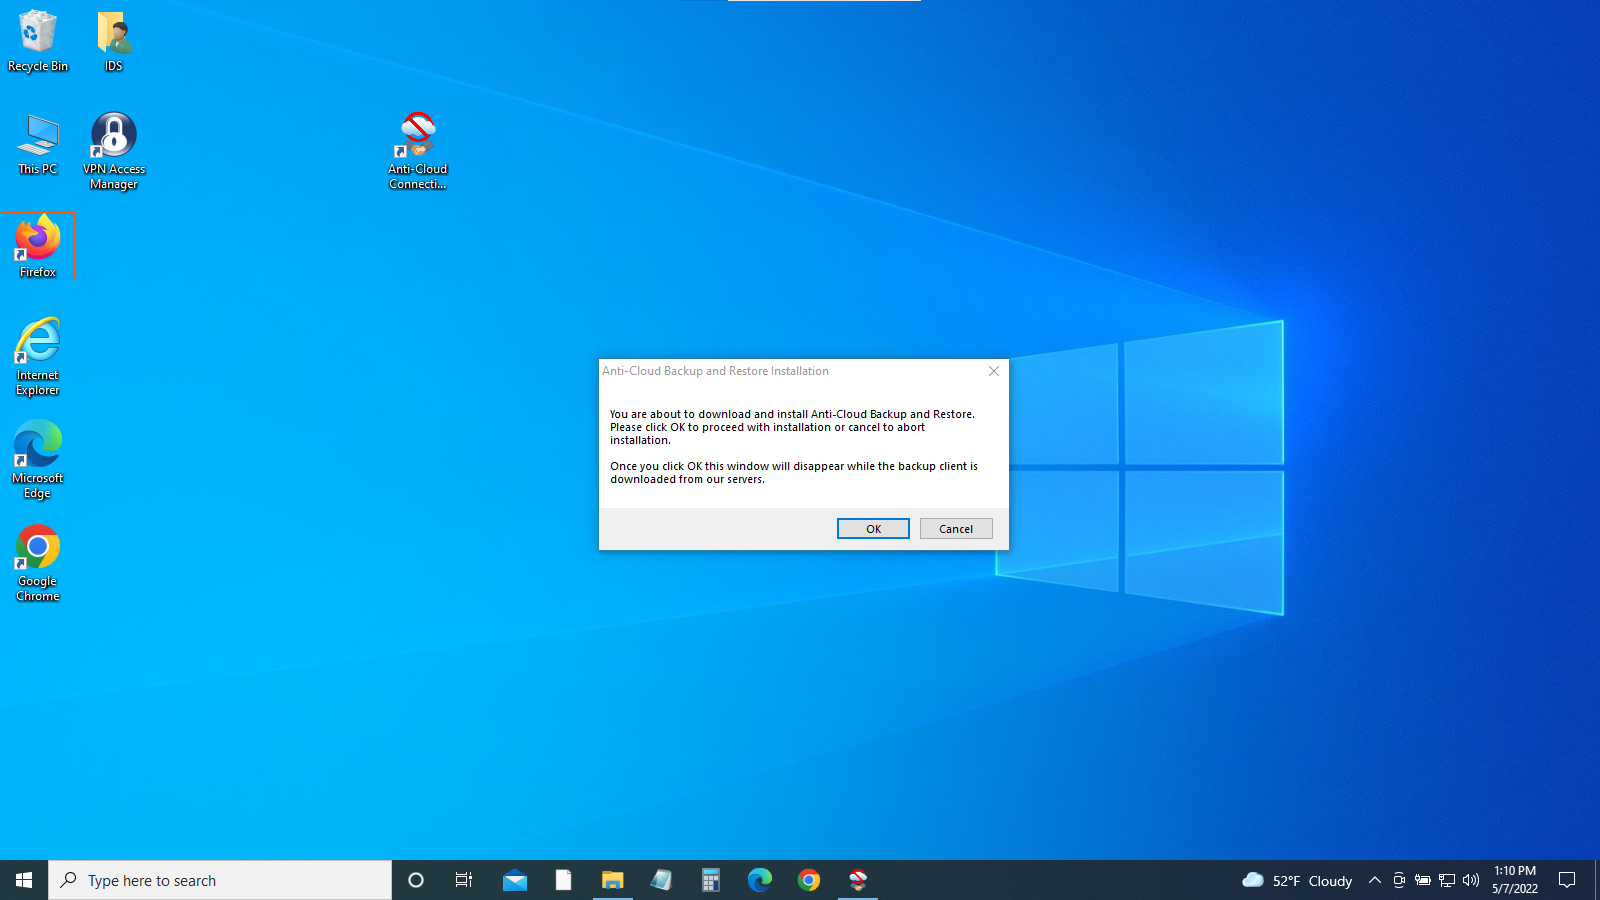
- Window: Anti-Cloud Backup and Restore Installation
- Click ‘Ok’
- Note: lower right part of screen, message stating: ‘username’ is now connected
-
At this point, this system is preparing for installation, which takes approximately 20 seconds and occur in the background (nothing with appear on the screen)
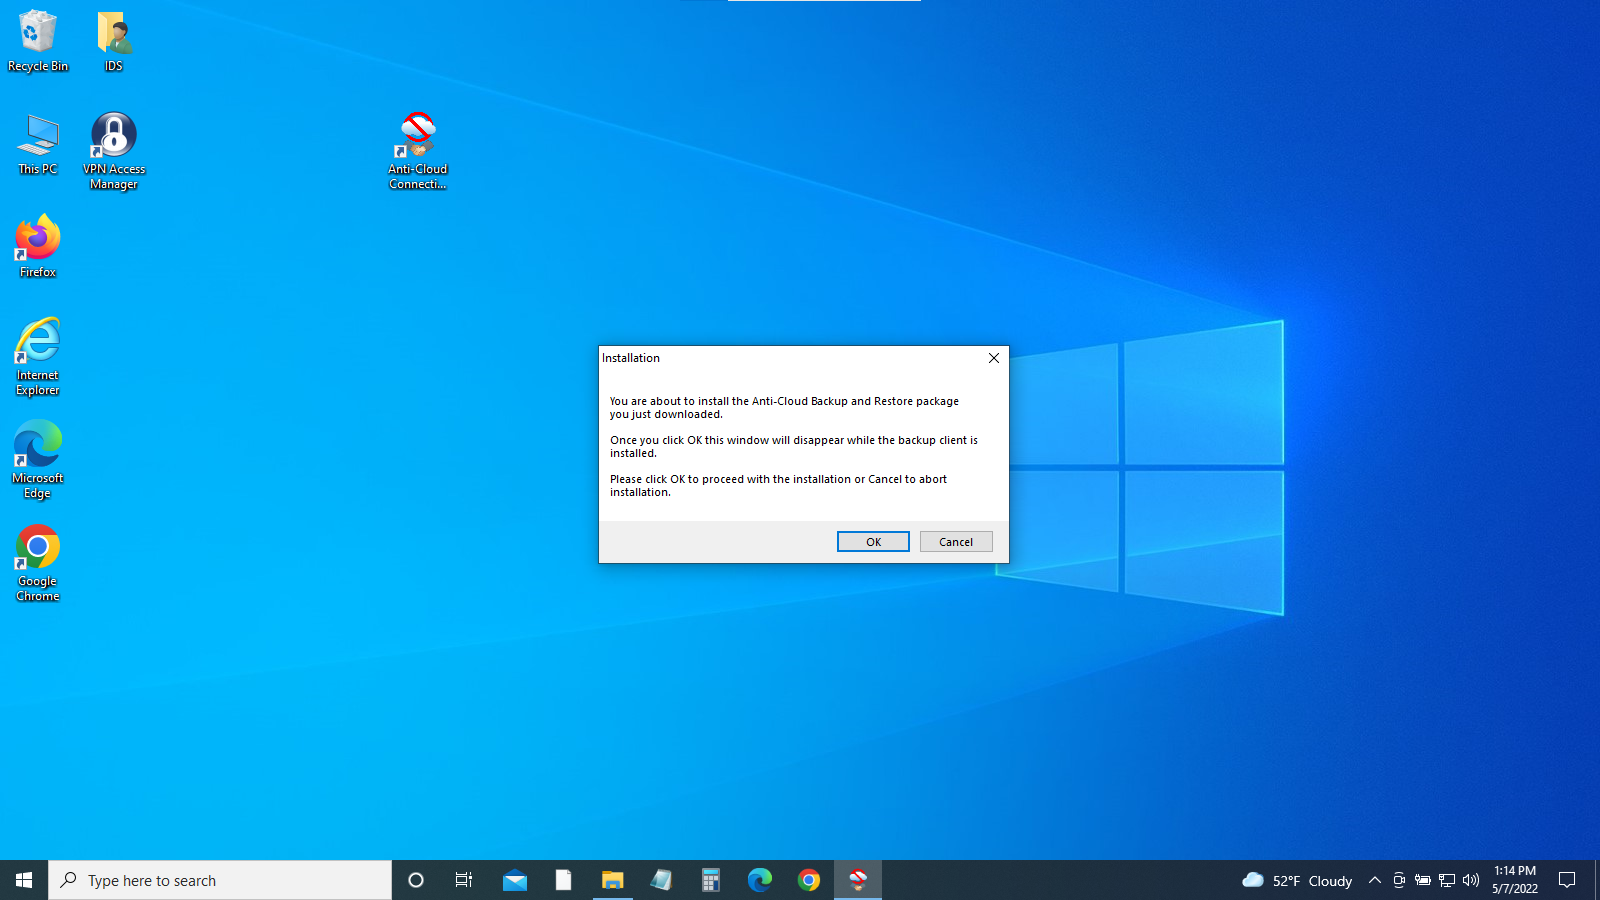
- Window: Installation
- Click ‘Ok’
-
The installer will notify you when it has completed
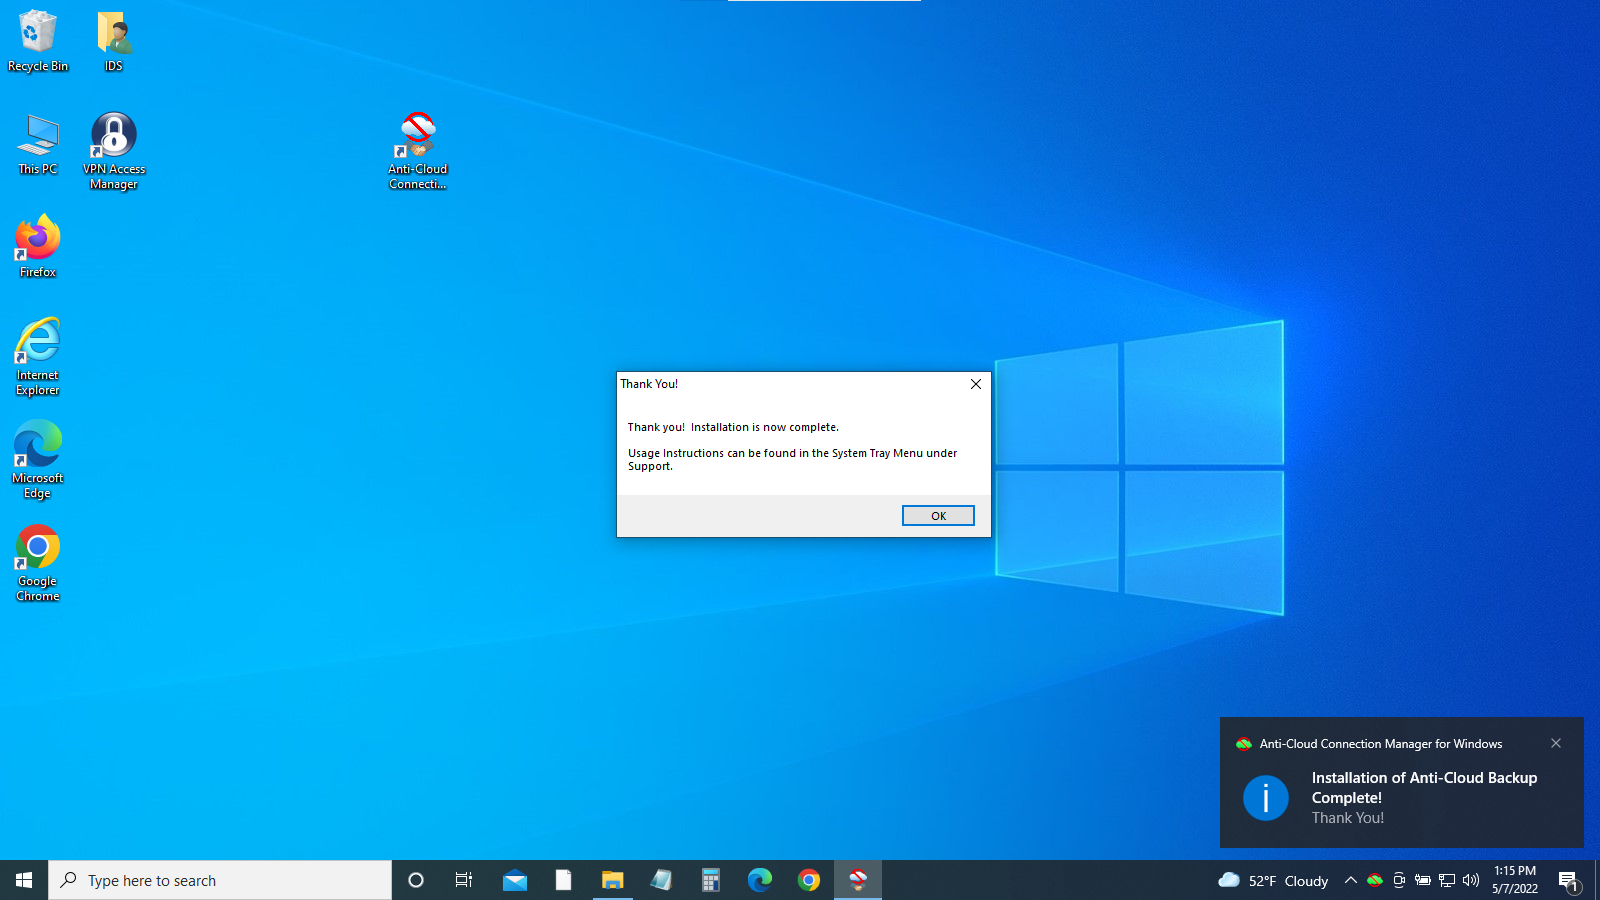
- Window: Thank You! Installation is now complete
- Click “Ok’
- Note: lower right part of screen, message stating ‘Installation of Anti-Cloud Backup Complete!
-
Enter your credentials a final time to authorize the Anti-Cloud: Backup & Restore desktop client
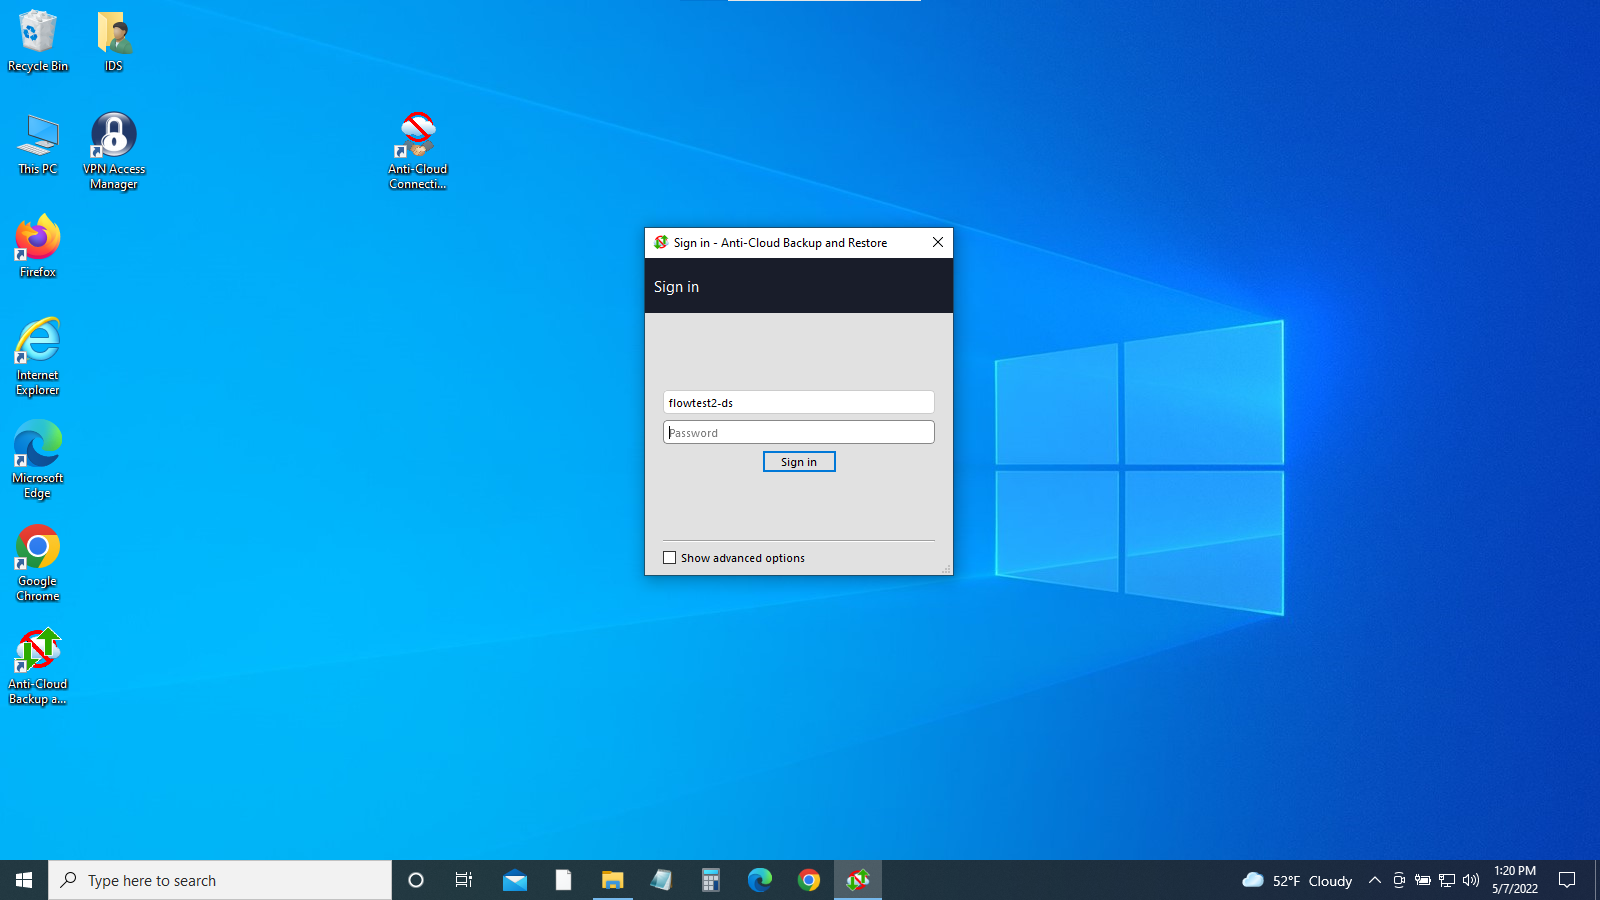
- Window: Sign in - Anti-Cloud Backup and Restore
- ‘username’ already entered
- Type ‘Password’ (same as before)
- Click ‘Sign in’
-
Installation is complete
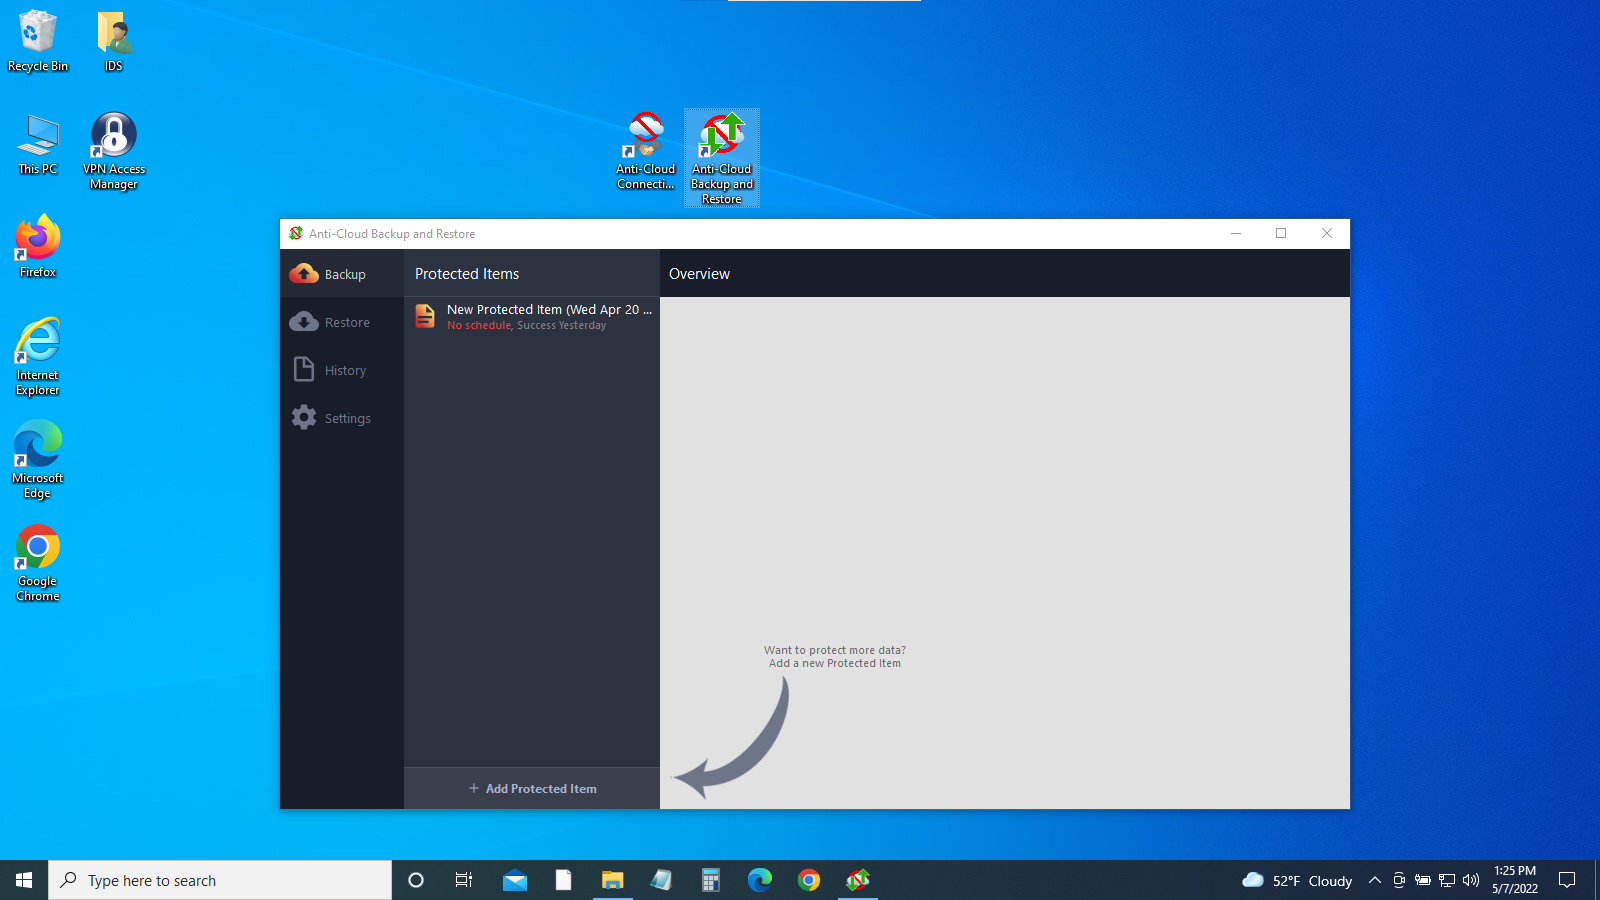
- Window: Anti-Cloud Backup and Restore
- Note: “Anti-Cloud Backup and Restore” icon created
Starting a Backup
-
Picking up from the step above, click “+Add Protected Item” (where the arrow is pointing)
-
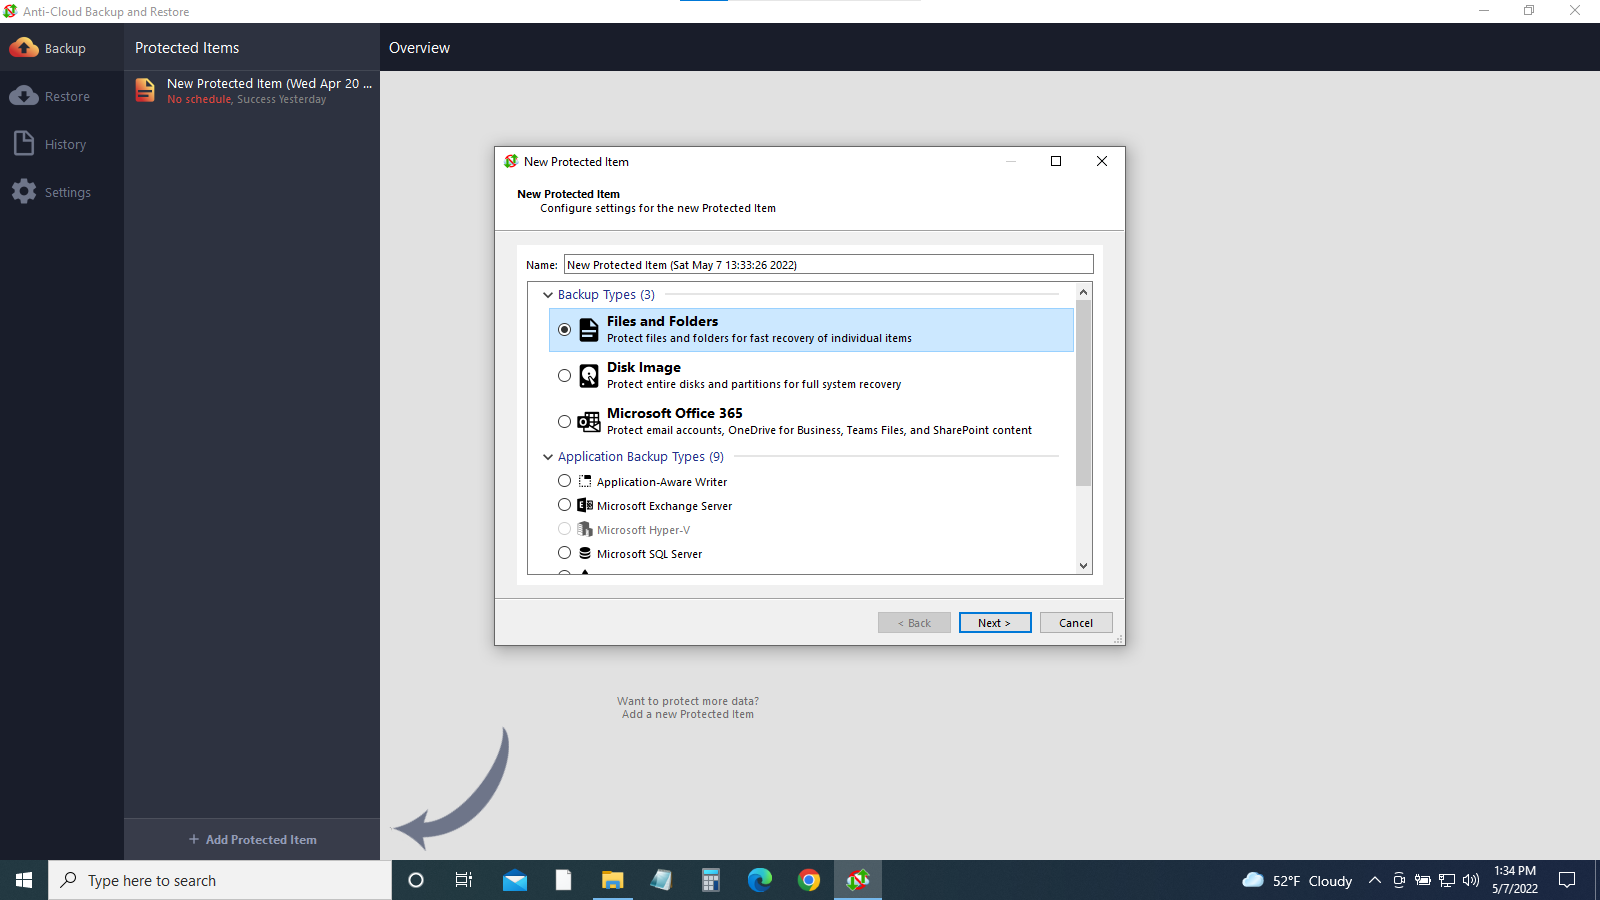
Select one Backup Type (3) and multiple Application Backup Types (9). Click ‘Next’
-
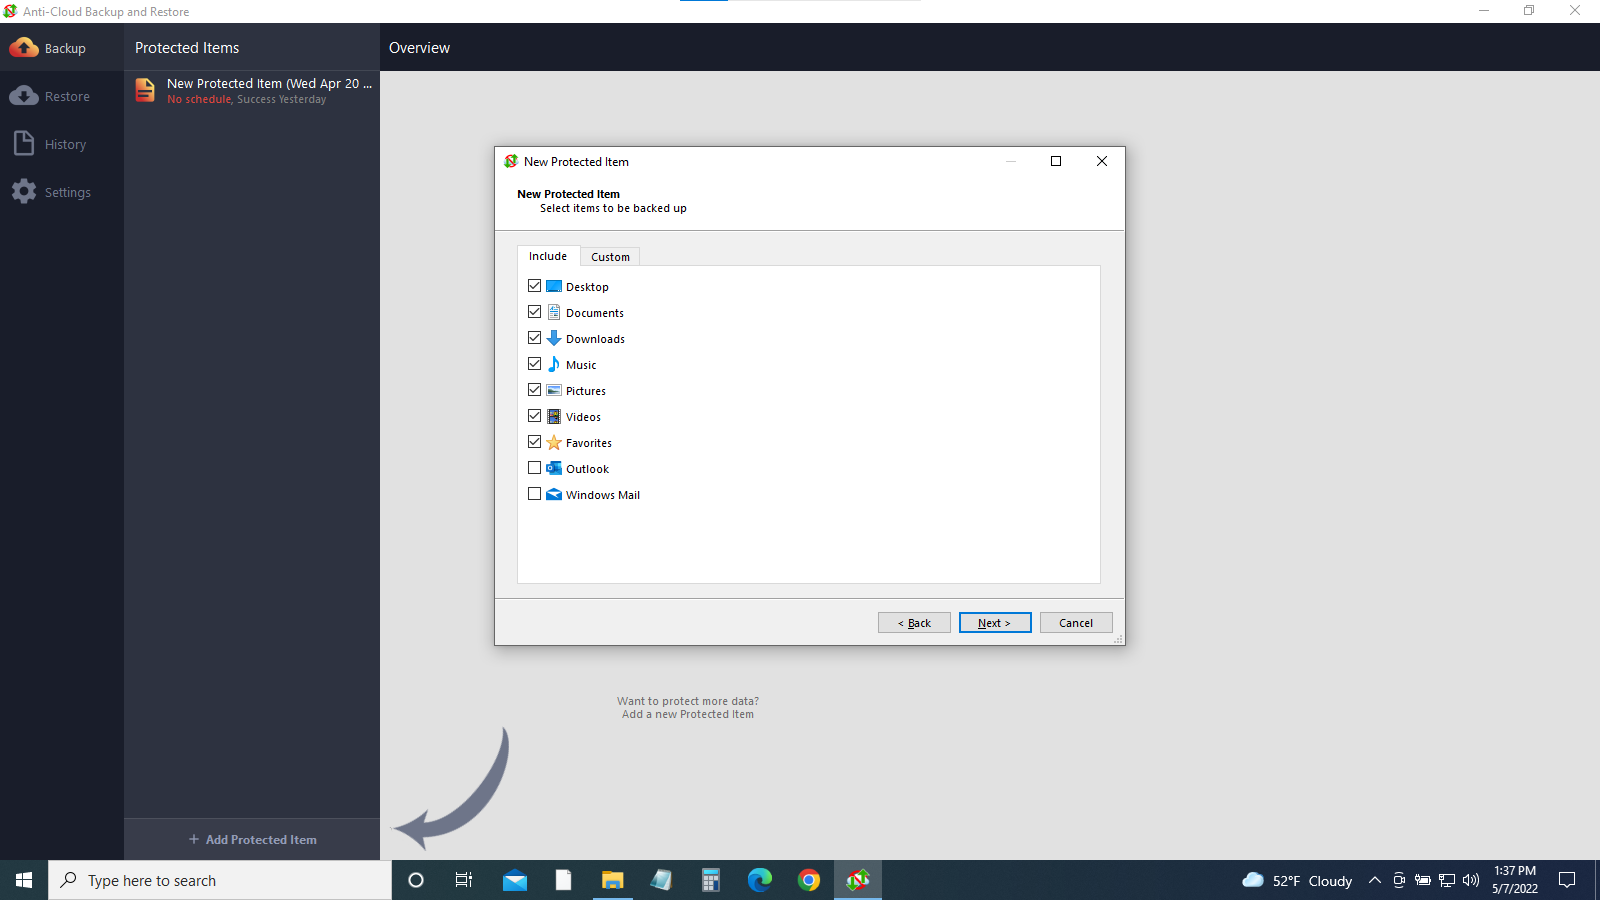
Select items to be backed up - check boxes. Click ‘Next’
-
Leave “Commands” at Default (no extra commands). Click ‘Next’
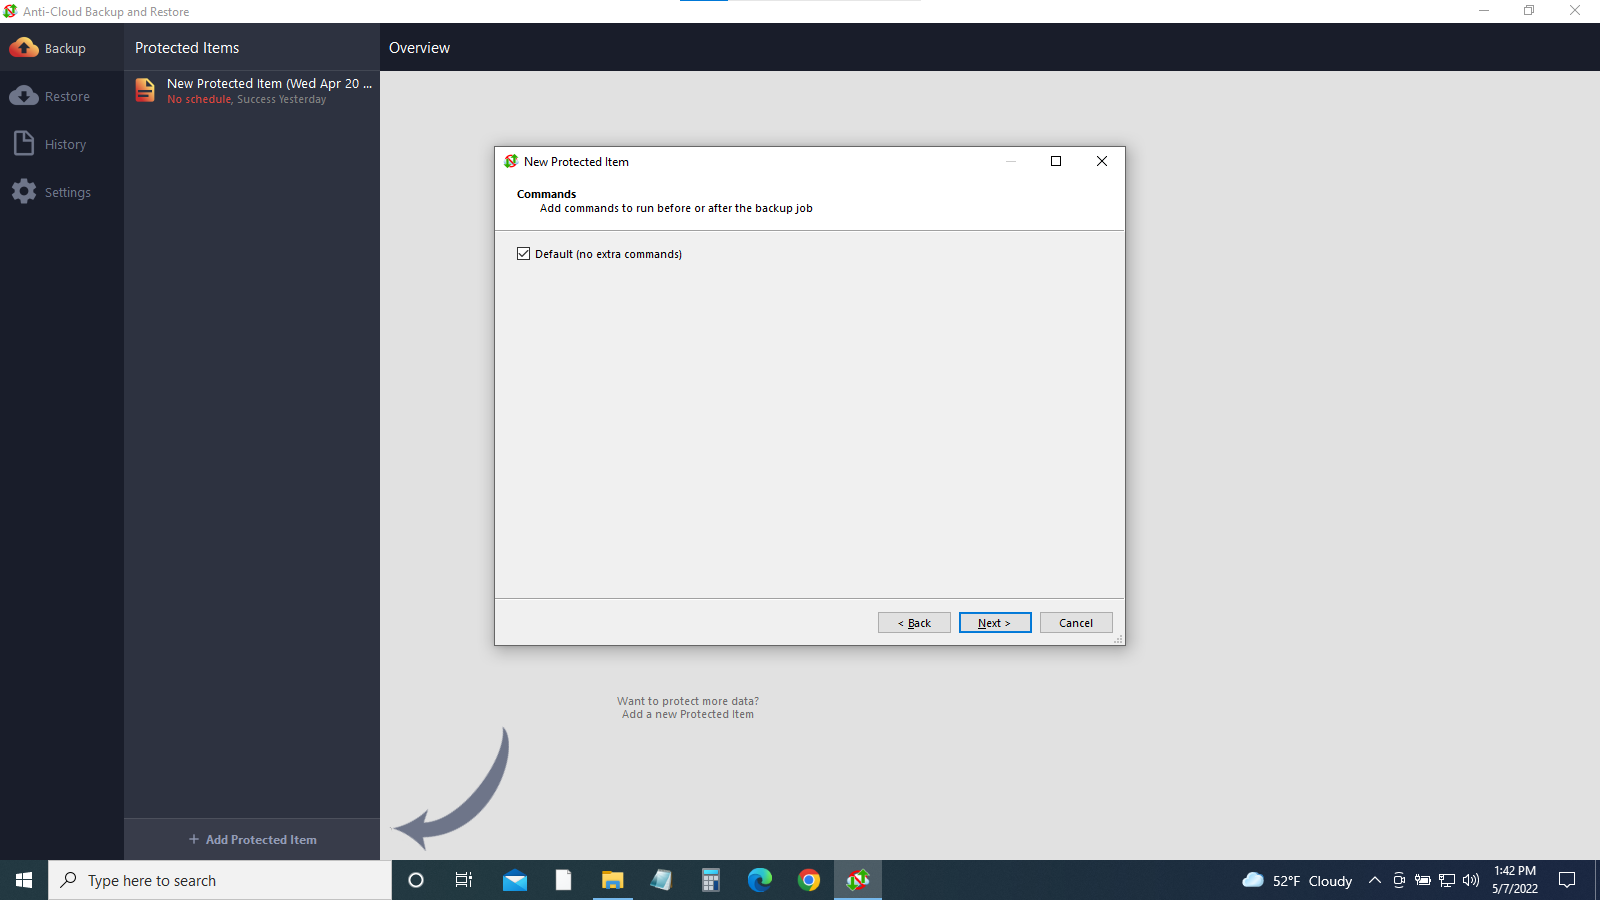
- Refer to the Support page for details on customizing your backup, or continue with the remaining steps for the default settings.
- Anti-Cloud: Backup & Restore - How To Guides
- User Configuration
- Schedules - add a schedule to automate backups
- Retention - how many backups to keep
- Clicking ‘Next’ on Schedules = no schedule configured
- Clicking ‘Next’ on Retention = default retention policy
- Clicking ‘Finish’ = runs a backup